June 6, 2013

Dialogs and localization

Hello,

Today, I'm going to talk about... dialogs (haha). Yes! There will be some dialogs in my game because I want to propose some kind of story (surely a simple one). So, I want the characters to talk, explain, ... live. In addition, dialogs/explanations are useful for the tutorial phase.

I - Localization

First problem: I want to release my game to the whole world (I shall reign over it :D Mouahaha)! And, even if I speak English, I can make some mistakes. I can't sell a game where there are mistakes. Hence, at some point, I'll need the help of some translators (by the way, if you're interested, you can contact me). But translators are not really into programming ;). I can't ask them to modify source code. The easiest way I found to handle this is to create a simple google spreadsheet/excel document with French sentences and their English (or Spanish, or Italian, or ...) translations. Something like this:

The localization file

This translation management is called "Localization". Here, I use one sheet for each game level. When everything is OK, I save each sheet in a simple TXT file that my game is able to load. According to the global language setting, it will show the good translation for each sentence.

In another localization file, I keep all the "global" names/information that I want to be able to access in all levels of the game: the character/place names, the menu labels, the help hints...

II - Dialogs

You can notice that in the localization file, there is no logical information about which sentence is the first, and what answer a character should give if the player asks him such or such thing. This "logical part" is stored in another spreadsheet file. It looks like this:
The dialog tree file

This file stores the information of the sentence sequencing. For each sentence (line in the file), we can find the corresponding ID in the localization file, the character who is speaking, the next dialog ID (NOT the localization one), a flag to know if the dialog should end after this sentence, and some action to execute (that the game can understand and perform). For example: when you speak with a character, you may earn an item, or money, unlock a quest, or go to the next level... You can see that there are a lot of other field/information that I do not use at the moment, but that I may use one day: camera position, animation to play for a character, music, audio...

This "mini-program" can't run alone. It needs to be called by the game with a given start line. At the moment, the tutorials start these dialog programs according to some actions of the player. Actually, we usually speak about a "dialog tree" because the user choices may influence the behaviour of the other characters, leading to different possibilities. For example, you may see lines with "WellDone" and "Failed" IDs, which, as you may expect, are run when the player succeeds,... or fails. However, those very specific and sometimes complex tests must be coded. So, I can't do everything with those simple text files, but it still offers a nice freedom, and it's not that complicated.

And...
Yay! Master Josh speaks! He's aliiiiiiiiiive! Well... Not exactly...


Soooo that's it for the dialog system. You may wonder why I didn't put the sentence translations directly in the dialog file. There are two reasons for that: first, not every single line of text is included in a dialog (menus, hints, descriptions of objects...). Second, I don't want translators to accidentally destroy the behaviour of non player characters by modifying logic fields. I will only share the localization file. This will avoid mistakes.

I hope this little post :p was interesting to some of you! Take care, and see you next time.


June 2, 2013

New Demo... Tutorial!


You can download the tutorial demo here:

There are only tutorials for the basic moves here. No real levels at all. Graphics are still in prototype phase. You will surely finish this demo in less than 3 mn. The goal here is to present the fundamentals for people who are new to the game. It may be quite boring for those of you who are gamers.

By the way, these are my first releases for MacOS and Linux. I can't test them at the moment, so people with Linux and MacOS systems are welcome to test!

And one last thing (it was the work of the week and I'll talk more in details later), but the game is playable in French or in English. Translation requires some additional work of course.

Feel free to tell me about anything you notice/like/don't like (and why ;) ) here: Contact.

Thanks a lot for trying this little demo and see you soon for other updates!

May 27, 2013

Some kind of pirate

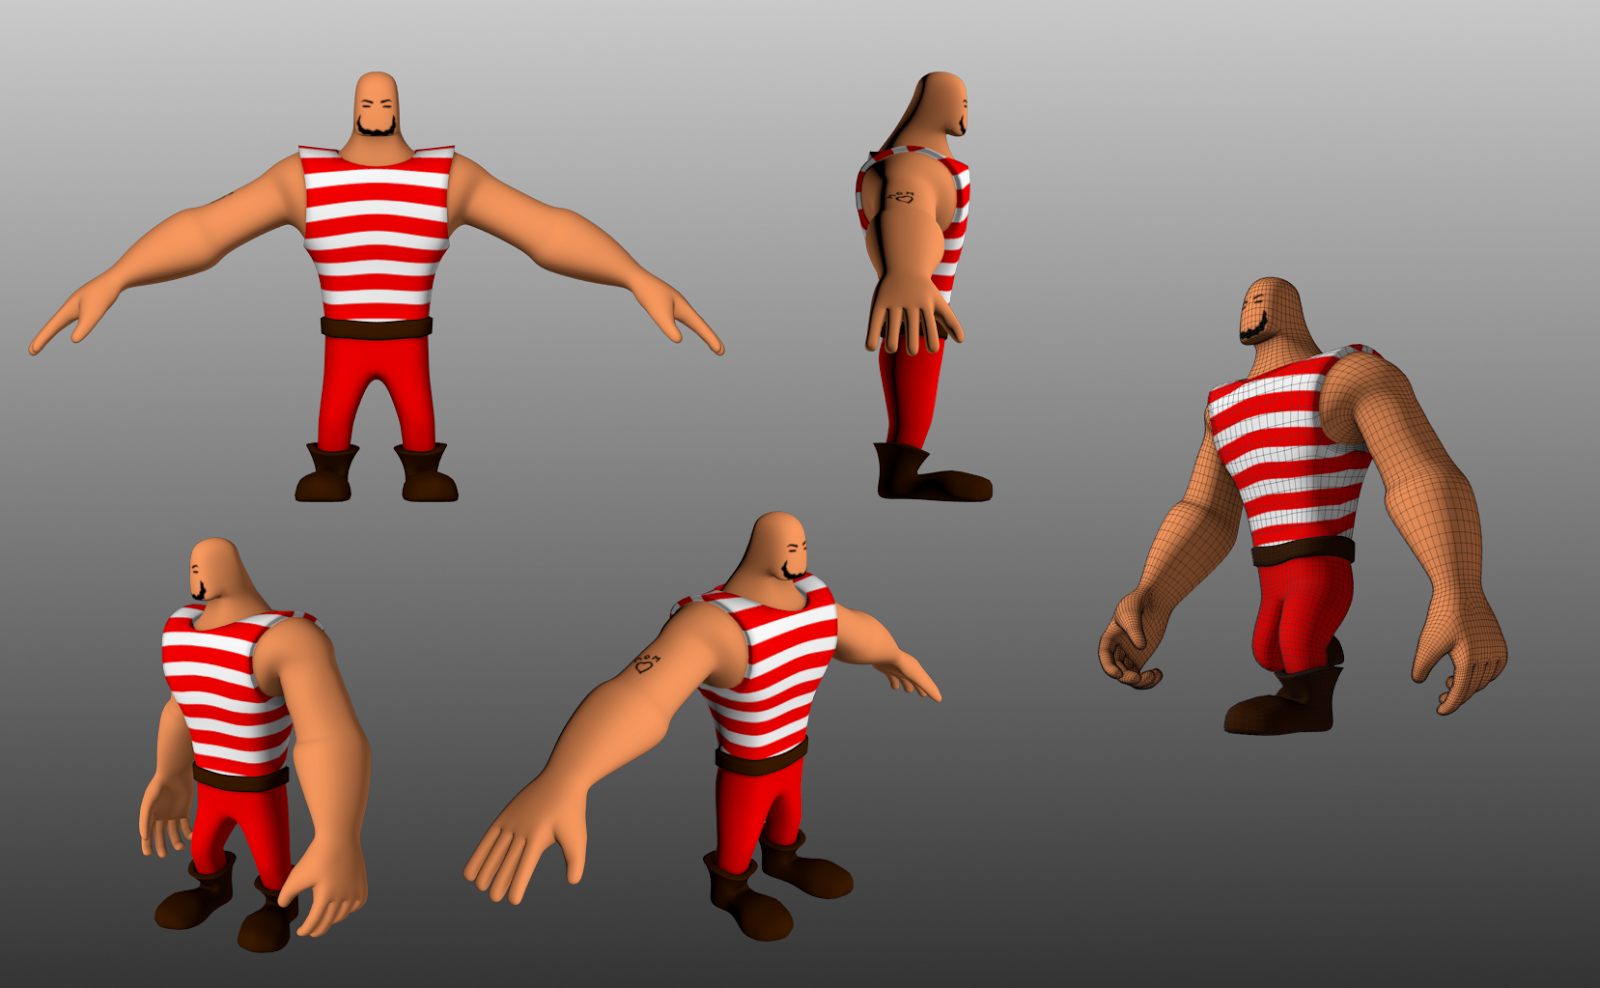
Hello everybody, I've been trying to create a first character lately (at least a character with a real appearance, and finest animations). There's still a lot of work but here it is:


He's some kind of big tough guy with a "Mom" tattoo. He doesn't have a lot of "pirate" accessories (hat,  weapons, bird, ...) so one cannot really tell if he's a pirate or a sailor or just a badass, but this will be added in game. I also worked on various animations (walk, run, fall asleep, ...). It's really difficult to achieve something perfect, so at one point you have to stop even if you're not fully satisfied.

For curious people, I posted a tutorial on how I created this guy on deviant art here: http://matou31.deviantart.com/art/Cartoon-pirate-tutorial-373913542

I worked a lot on this one, especially trying to find a graphical style that suits both my skills and the kind of universe I want to create. I think I worked on this one for a few days. But, if I had to create it from scratch now, knowing precisely what I want to achieve, it wouldn't be that long. The real difficulty is finding the final look, not actually creating it. By the way, he may evolve a little bit, but I think characters will likely be based on simple colors and cartoonish shapes. It's much easier to do given the time I have. For those who know, I aim at something like "Zelda Windwaker" graphical style, at least for characters.

You may notice that the first character I fully work on is not the player. This is because I'm not quite sure yet about the look I want for him. Of course I have many studies, but none is really OK at the moment. And furthermore, the player will always be on a screen, so I think I'll wait a bit to have better skills in animating/modeling to create the player.


In addition to this first character, I also worked on a way to create levels in Blender that I can finely import in Unity. At the moment, I can fully model a level in blender and add logical items to it (ennemy, main character, path point) and I can get it in Unity with a little transformation script.

The level in Blender, with logical entities: red ones are "ennemies", yellow ones are path points.

I export all this in an FBX file, and, in Unity, I run a script to replace all logical entities, based on naming conventions (not very pro, but truely efficient). Maybe I'll talk more on this later, because the editor/conversion scripts are still in development.

The in-game level. Every logical entity has been converted to the real mesh/texture/game object.

This enables me to quickly create a level prototype in Blender as I'm very familiar with its graphical interface. This way, I can test a level and see if it's fun, or too easy, or too hard, and check that it can be finished. Or course, at the moment, my levels are graphically very poor, but decoration will come later. Functionnality first!

Okay, that's all for today. I'll try to post a demo by the end of the week with -hopefully- tutorials in it, as I had requests about these.

See you!

April 22, 2013

First weeks

Hello everyone,

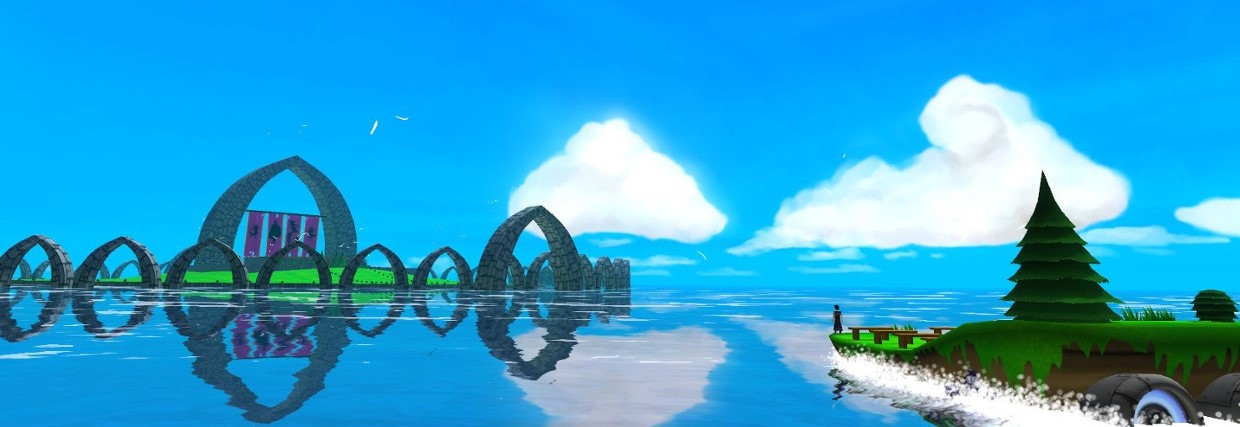
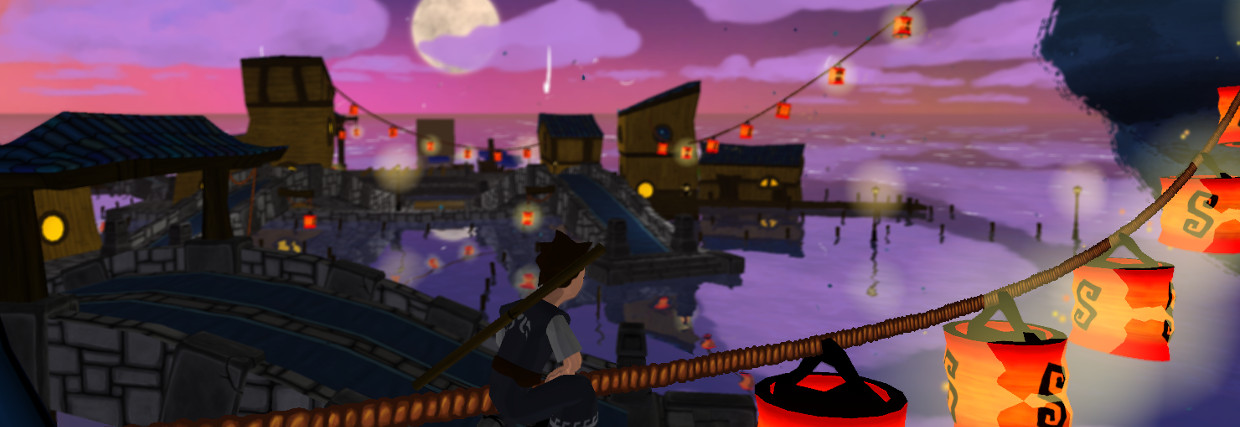
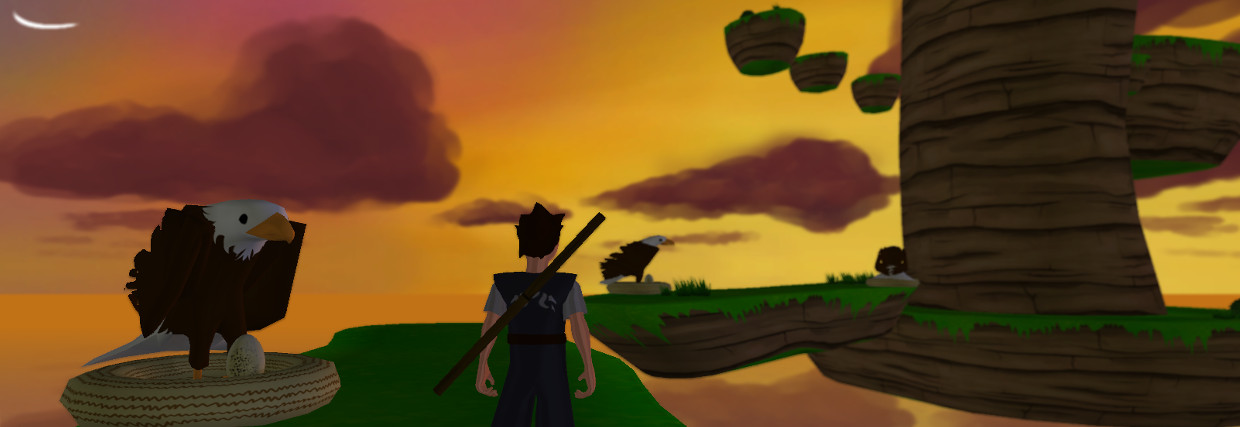
This is the first post about my actual work on the game. Recently, I worked on a few graphical/art style tests as you can see below:

The idea was to test different ways of mixing textures (tiling and blending). Unity can only handle 2 different sets of UV textures which might be annoying for environment design... :(

I also worked on GPU shaders to create post-processing effects (cartoon-like edge rendering, underwater effect, colorize and oil-paint effects...), but I still don't know which one(s) to choose for the final look of the game.

I also (and mainly) totally re-implemented the controls, because there are a lot of bugs on the demo for the moment. The moves are basically quite the same (run, climb, jump and slide down slopes), but I hope they are a little bit more reliable. Debugging is not over however, I guess I'll have to fix a lot of things "on the fly" when adding new levels. Initially, I planned to code basic moves in 2/3 days. I spent more than 2 weeks on it. I created a test level to track bugs on the climbing and sliding moves:

I created a lot of "moutains" with various forms and slopes to assess my algorithms. It's a very long process to test every situation... Those are simple forms, and yet there are a lot of issues especially on edges. Of course this is not very pretty, and it won't be in the final game. It's only for tests!

That's all for the moment!

See you next time :)

February 9, 2013

First demo!


Here is the latest version of the playable demo of "World of Thieves". It's free!
Please if you notice bugs or if you want to say anything about the game, feel free to contact me.

Please understand that the game is still under heavy development and is far from perfect. The visuals and gameplay in this demo are not necessarily representative of the final look/quality of the game. Thank you :)

November 30, 2012

Dragon brushes in GIMP

Hello guys,

Today, I will show you how to create animated brushes in GIMP 2.8, and this post will also be a useful reminder for me :). I will propose Dragon brushes because dragons are cool, and everybody likes them. The philosophy behind using brushes is not to make the whole painting with them, but rather have a good idea of the final render without spending too much time on it. It is also used to add sparse textures.


First of all, I must link to this video who greatly helped me in designing those brushes. So thanks a lot to M. Remko Troost for his nice video.

I - Download


You can download the dragon brush pack here.
It contains:
  • 1 skin brush
  • 2 simple scale brushes
  • 1 horn brush
Feel free to use them in your work. Credits are appreciated but not mandatory. Here after I explain how you can create (improve? ;) ) and use these brushes.

II - Creating an animated brush

  • First of all, create a new grayscale (in the advance parameters) square image if you want a classic "transparent" brush (actually, color brushes are not that useful). Use a white background (= full transparent brush). Don't make it too big, something like 200x200px is quite good.
  • Start painting some scales in black. Generally lizard/reptile skin is made of geometric patterns (squares, pentagon, N-gons) well intricated together and separated by little creases.
  • Create another layer and paint anoter type of scales. You can use as many layers as you want to create variations.
The goal is to use those 2 layers randomly in order to create irregularity in the skin.

III - Saving the brush correctly

  • Save the brush using the GIMP animated brush format: .gih. Save the file in the .gimp-2.8/brushes folder (in your home folder).
    • Use a spacing of 50-75 depending on how much you covered the image surface
    • Number of cells should be your number of layers (2 for me)
    • Dimension is 1 as the brush will only depend on 1 parameter (random only here, no angle track or whatever)
    • Ranks is 2 - Random, which means that random will be used to choose between the first 2 layers
  • Now you can reload the brushes in the brush panel. Be aware that the "reload" button doesn't seem to work very well. I think it only loads new brushes, not modified ones. So if you want to tweak/modify an existing brush, you have to suppress the file, and then create it again. Be warned that if you already have a lot of brushes, it may be difficult to find the new one in the list!

IV - Going further using dynamics

You can now use this brush in GIMP. But GIMP 2.8 provides another option to influence brush behaviour: Dynamics. It can control how speed, orientation, pressure (for graphic tablet users) and much more parameters affect the brush (in rotation, size, opacity...). For example, to add a random rotation, you can use the existing dynamics "Basic Simple" or "Pencil Shader" for example, or create your own.


Some dynamics are quite useful, especially the ones that follow the direction of the movement to align a brush, for example "Speed Size Opacity", or even "Track Direction" if you don't want to use pressure. But if you plan to use them, you have to well design the underlying brush.

And thus, if you want to create an "oriented" brush, you have to know that the "direction" needs to be horizontal towards the right-hand side when you create the brush. Here is a "horn" brush:

A horn brush oriented towards the right-hand side

When used in a drawing in combination with other brushes you can quickly create a basic design:

A very quick design of a dragon

Or you can use them in a final render just like the first image of this post.


November 21, 2012

2D image deformation in Blender

Hello everybody,

Today I will introduce a fairly tortuous way to locally deform 2D images using... Blender. Here's what we're going to do:
 Notice the deformation of the web center


OK, But why not in GIMP ?

I recently wanted to apply a lattice correction on a simple 2D image in GIMP (to correct perspective and bad proportions on a drawing)... but GIMP is seriously missing a good and real-time lattice (or FFD=Free Form Deformation) transformation like the one in photoshop (Warp Tool) for example.

Of course there is the cage grid tool and the interactive "I-Warp" filter. But, the cage grid tool doesn't handle well the connections between the selected zone and the rest of the drawing. The I-Warp doesn't provide a good zoom level and is quite laggy, at least on my PC, and there's no undo function... So here's a little work around.

Be aware that this method is not straight-forward and requires a minimum of setup in blender, but it can handle large-scale smooth deformations in real-time, with various levels of zoom, and undo function. It can save you hours of work on a drawing where you missed a perspective default...

I - Setting up the image plane and material

  • Launch Blender
  • Suppress the default cube
  • In file -> User preferences  -> Addons -> Import/Export, activate the "Import images as planes" addon
  • Import the image you want to modify, don't forget to activate the following options: shadeless, use alpha, premultiply
  • In 3D view, in top view, activate the texture render mode. You should see your image on the plane 
Plane with the base image to modify

 II - Setting up the camera

The goal is to make a render with the same size as your original image
  • Set the rendering resolution to the same size as your image. For example 1600x900 px. Choose RGBA if you want to handle a transparent image.
  • Position the camera right above the plan, let's say at (0,0,2), facing -Z (rotations = 0)
  • Use an orthographic projection.
  • Select a vertical sensor fit of the camera. Choose an orthographic scale of 2 (this is the Y size of the textured plane created by the import)
Now the camera field of view should fit exactly your image with the good ratio and the render will generate an image with the same size.

Camera well-aligned with the plane

III - Finally deforming the image

  • Select your plane, and in edit mode subdivise it many times. This will create the lattice used to deform the image. Be careful! Do not use too many divisions or it will slow down your computer
  • Turn on proportionnal editing and move vertices of the lattice to locally deform your image! Use the mouse wheel to control the deformation radius. You can benefit from Blender real-time texture rendering, 3D zoom/move and undo options.
Subdivising the plane

Proportional editing to locally deform the image


Once you're done, render and save your modified picture! That's it!