This last week, I spent some time on the artistic part of the video game creation.
I - Skybox
First of all, I tried to make the sky more lively, with a day/night cycle. I created a simple 3D sphere in blender on which I painted a day sky and a night sky. Then I created a "cube map" texture from this 3D sphere: the idea is to set up a camera inside the sphere and to make it look in 6 different directions (up, down, left, right, front, back). This enables me to create 6 different textures. Then, in the game, I map these textures on a "huge" cube that I set around the scene. This looks like a real sky at an infinite distance.
But why using a cube and not using directly the painted sphere created in Blender? Because displaying a sphere in the game is more expensive in terms of computation. Moreover, Unity (the framework I use to create my game) proposes nice tools to manage a cube map sky, but none for a sphere map sky. That's it!
The night sky map in Blender. You can see I keep some notes for later (the bottom panel) about how I work in case I have to modify/correct it in the future! I spent a lot of time trying to understand the process and fix all the little graphical glitches.... ;)
Then I implemented a little "time of the day" algorithm which blends the 2 sky maps (day and night) depending on the virtual time. I also added a sun and a moon object rotating around the scene, based on the virtual time too. Of course, the light cast on the scene depends of the moon/sun position.
6 textures computed from the "sphere sky". They will be mapped on a huge cube inside the game.
The final night skybox in the game with other elements (moon, landscape, water and wind)
II - 3D Art
Then, I tried to work on various 3D elements: grass, bushes, and of course, the main character. The way to go is exactly the same as for all the other stuff I've already worked on (seagull and fish, pirate character, etc...), So I won't detail it much, but the basic stages are:
- Create the 3D geometry of the model. I do this in Blender, and I usually make a lot of sketches beforehand to have a good idea of what I want.
- Apply a texture to it. I do this in GIMP to paint the image, and in Blender to map it to the 3D model
- Create the animations. This is done in Blender too. The idea is to create a "skeleton" for the character where each bone deforms a part of the body. Animating a character simply means defining every bone position/rotation along a timeline. This can be quite long. At the moment the main character has 70 bones (more than half only for hands!) and 5 different animations.
My process workflow in Blender: on the upper-left corner, the texture of the main character. It may look strange at first sight, but by looking carefully at the model, you may identify how it is mapped. On the lower-left corner, the 3D textured model with the full skeleton visible. On the right part of the picture are displayed the "key" positions/orientations of the bones for a simple animation... It's a bit of a mess :)
Of course, this is the ideal process. But, sadly, in reality, this is never that straightforward. Very often, I have to correct the texture mapping or the model because it doesn't deform well while animating. This is a long process of trials and errors.
For non animated models, the task is a little bit easier however.
III - 2D Art
I finally worked a bit on enhancing old "prototype" low-res textures, and creating new ones (with HD resolution). For example:
On the left-side, a part of the old "crate" texture, on the right-side, the same one with a higher resolution. Quite some work to update it!
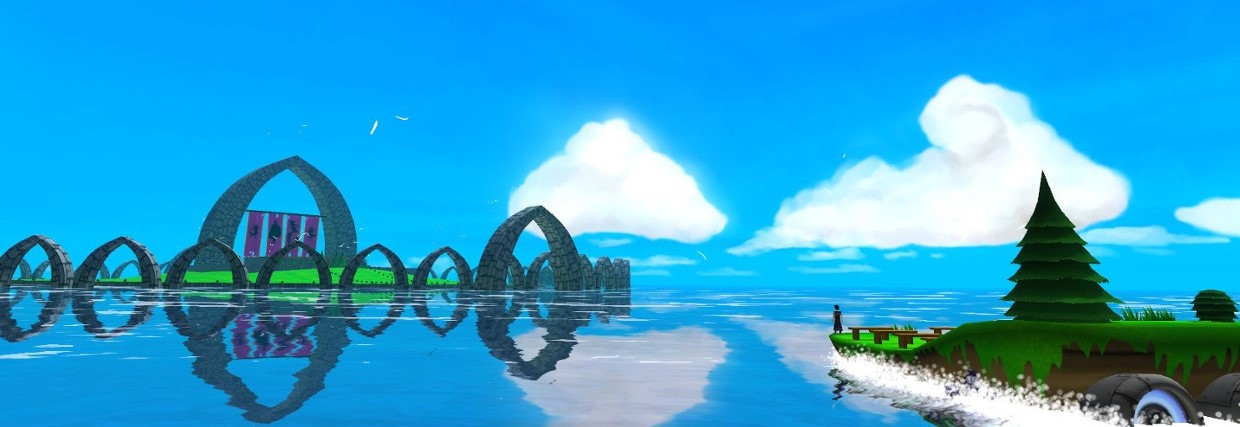
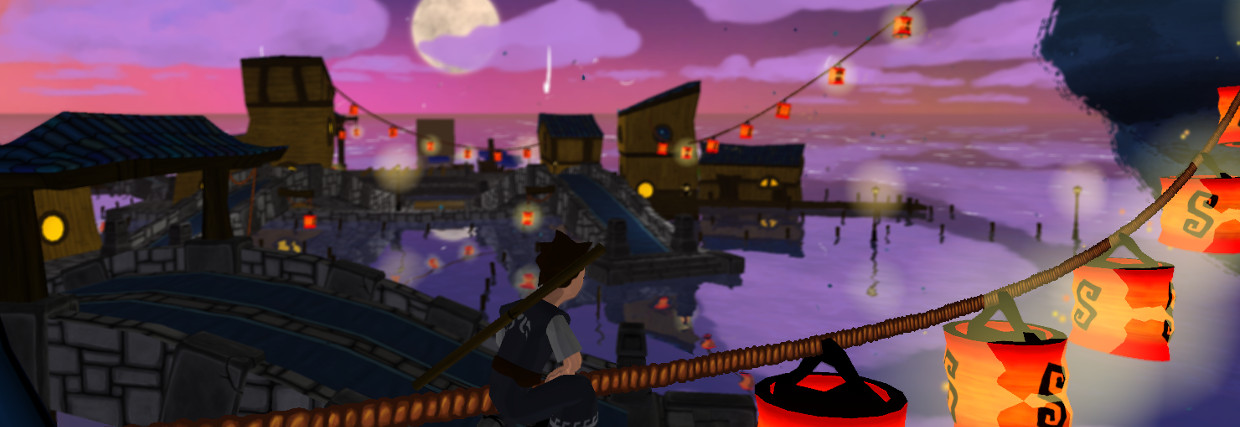
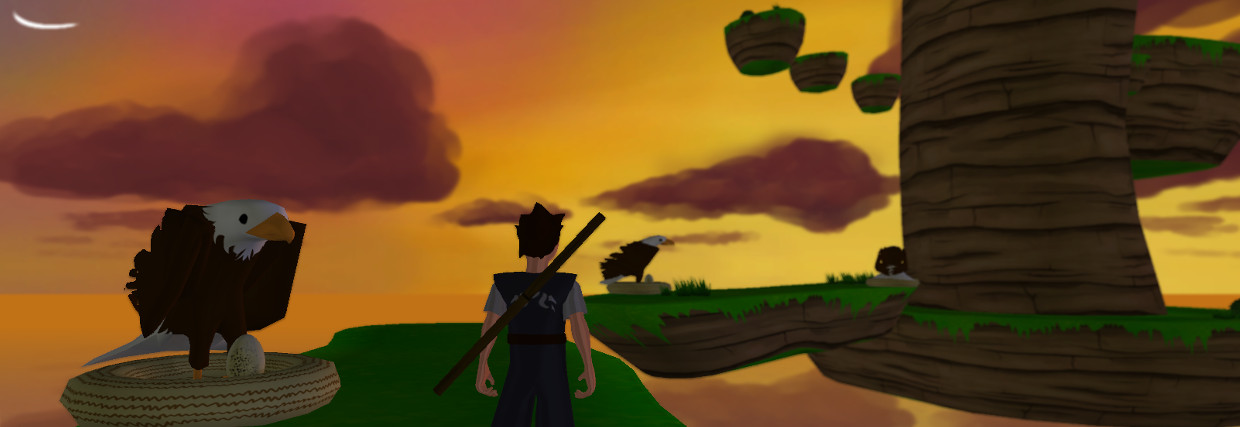
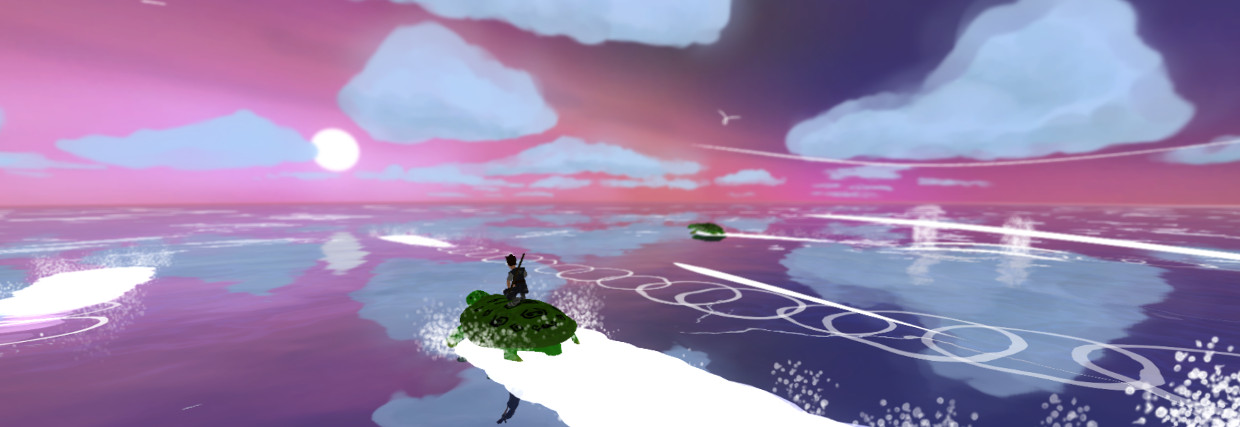
And finally, all those "little" improvements make the game look a lot more appealing (I think):
The actual game look. Not exactly what I had in mind, but yet quite presentable.
That's all for this week... But a demo with these improved graphics is coming for tonight! Sadly, no more gameplay/levels (even if I corrected a few bugs). As usual, don't hesitate to share, tweet, repost if you like and/or want to help!
Peace :)


No comments :
Post a Comment