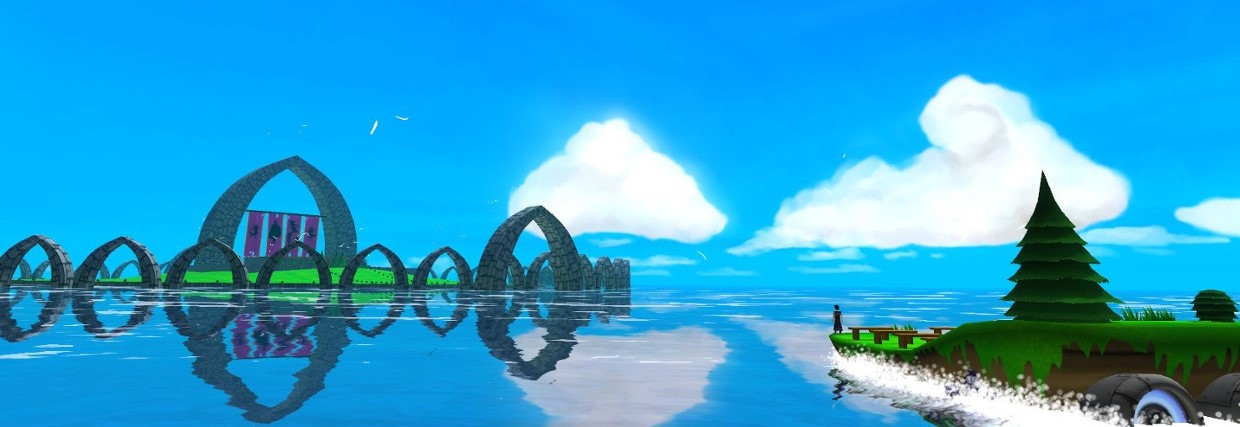
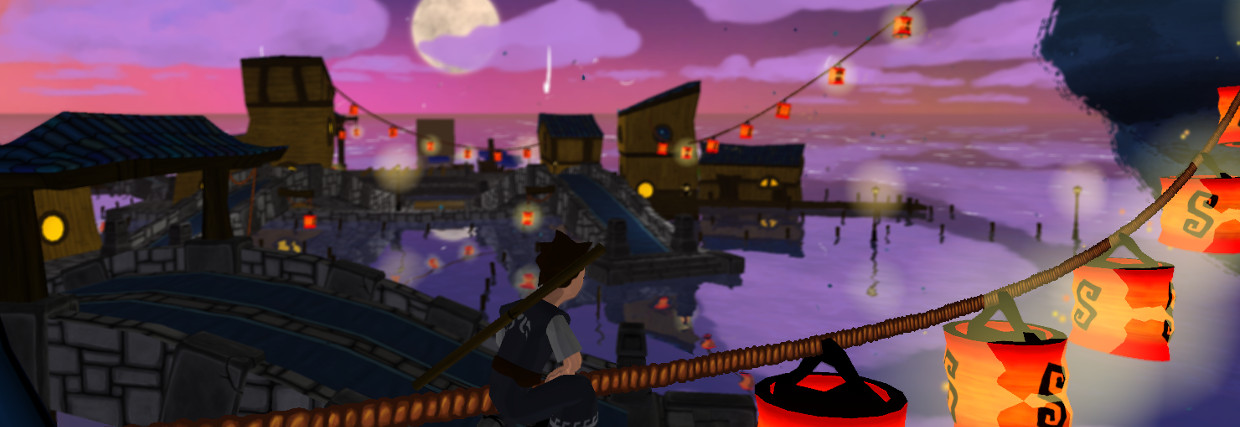
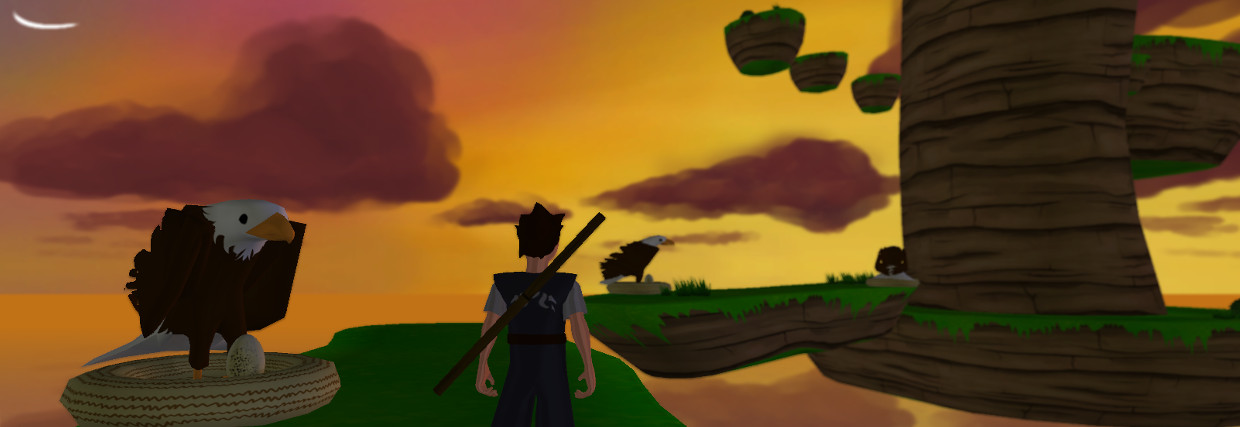
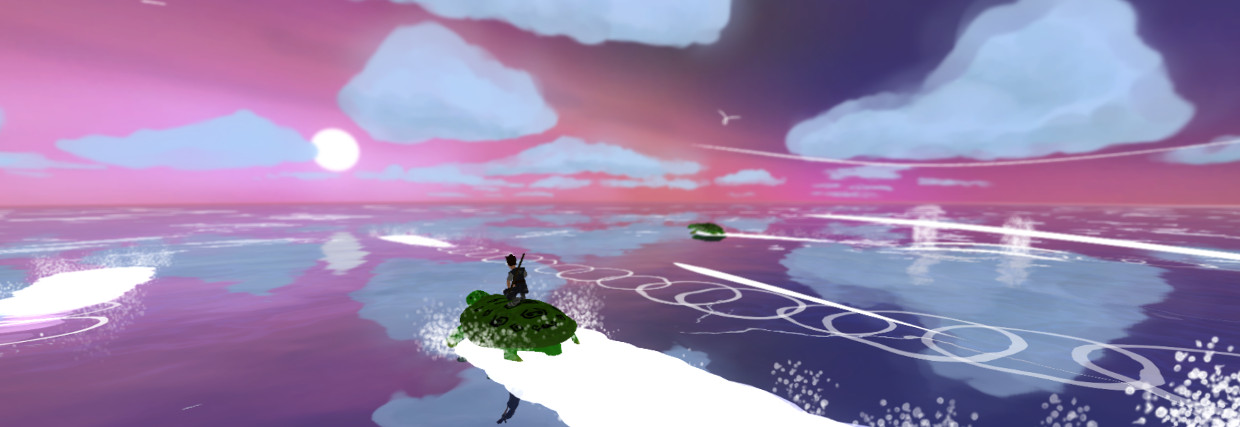
July 28, 2013

Speed Dev Week

Hello everybody,


This week, it was logistically complicated, because I was away from home... Some kind of holidays in a sense.... So I chose to work on a little side-project: a 2D top-down view stealth game with the possibility for the player to easily create levels. Graphics are of course very simple, but the goal was mainly to create a tool to quickly test 2D level design. So if you want to create levels yourself, watch out for the next demo of... World of Ninjas (yes, I'm really inspired when it comes to names).

 A very poor look... But it works...


Hence, this (long) post will explain more or less in detail the creation process done in... 1 week. The next post will link to the demo!

Day 1

  • Basic character and camera control: the player can move, the camera follows him.
  • Dynamic level loading from image file: I simply choose to use paint (or gimp) to create a logical map of the level. The map is loaded and each pixel is interpreted as a game object:
  1. blue = player
  2. grey = wall
  3. red = enemy
  4. yellow = path of the enemy
  5. ... and additional colors for other elements can be added
  • "basic enemy": I created a simple enemy game object that follows a path
 
 
A basic map made in GIMP

Day 2

  • Field of view of the enemies: they can detect the player if he is visible within a given distance
  • Checking out of an old path planning algorithm (A*) and adapt it: now enemies can avoid walls and find paths on their own (not only follow a designed path). They can also search around when the player was visible but escaped.
  • Optimizing A* to have real-time compatibility: path planning computation are really cpu intensive and can make the game lag/slow down. I had to limit the computation time available on each frame. Thus, complex calculation takes more frames to get done, but does not slow down the game.

Day 3

  • Main menu and level listing: adding a title screen with level selection (levels are read from image files on the hard drive)
  • Enemies can shoot the player if he is visible
  • Player can shoot to respond to enemies: use the mouse to aim
  • Player can slash (short range attack that won't consume ammo). You can move the mouse to control the blade direction while slashing. It's quite fun to do :)
  • Refine field of view display: I want the player to understand quickly what enemies can see and what they can't. So I used the old "Commando" game style:
Enemy field of view. Quite harsh to implement, and far from optimized. But... quite functional at the moment.

Day 4

  • Add "Goal" object (white pixel on the map): a particular object the player has to get to before exiting the level to succeed
  • Level success/failure: check when the player finishes a level or when he dies
  • Statistics on kills and time: once the player finishes the level, display a few information
  • Add a level validity check: verify that the image file exists, is not corrupted, and has minimum information (a blue pixel for the player)
  • Keep last score: once a level is finished, the last statistics are saved and displayed on the main menu
  • Add command list: start to create a head-up display (HUD) to explain commands and show the player inventory
  • Enemy react to killed enemies: when an enemy sees a killed enemy, he goes towards him.


Day 5

  • Shockwave : to simulate sound, I add "shockwaves" when a bullet hits a wall for example. If an enemy is hit by the shockwave, he will go to the sound origin to check what happens.
  • HUD improvement
  • Add impact when enemies are killed
  • Player can carry objects or killed enemies
  • Player can throw objects or killed enemies
  • Player can drop bombs: bombs create a large shockwave that kills enemies and destroy nearby walls.
  • Add wall debris after an explosion
  • Add proximity mines: some special kind of bomb that explodes when something moves around. This was quite tricky to implement, because this mine must take some kind of "snapshot" of what's around when it's armed and constantly check what changes nearby.
  • Add a weapon selection menu
Shockwave during a bomb explosion

 Day 6

  • Additional HUD modification to take into account all the new available moves
  • Various bug fixes (I don't talk about it, but I do this everyday of course)
  • Display the proximity mine danger area
  • Add a few items to pick up: life, ammo, bombs, mines

Day 7

  • Write this article (don't laugh... it takes some time!)
  • Write a readme explaining how to create levels
  • Put a download on this website

And at this point, that's all I have. I already noticed a few additional bugs that I'll have to fix, but the goal was to set up a playable prototype within a week. If it works well and is quite fun, maybe I'll improve it later, I already have a very long list of possible enhancements/corrections.


About the bugs: adding new items/functionnalities always raises new questions. For example: "what happens if a "life bonus" is hit by a bomb shockwave?" The more elements there are, the more complex interactions can be. I surely missed some. By the way, professional developpers often say they only create 5 bug free lines of code per day. I coded ~2250 lines, with hopefully 50 free bug lines... That means there are still loooooooots of bugs to find, I count on you :)


That's all for this week. See you next time.


July 19, 2013

Saving data

Hello everybody,

Today, I'll speak about... saves! So this post won't have a lot of screenshots, mainly boring text ;)


Not very impressive, but here is the save menu!


As I want to be able to build up a complete version of my game as early as possible (even if it's only on 1 level), I have to implement eveything the final game will need. And recently, I thought about the "game over". What happens when the player fails?

I - Problems


Well... This question is a lot trickier than it seems. Because when the player fails, the game must bring him/her back at some point where (s)he is OK.Thus... we must save this "some point where he is OK". Hence a few questions come up:
  • Does the player choose when to save? If so, he can ideally save whenever he wants, and there is absolutely no difficulty to the game. Moreover, technically, this means being able to dump everything that is in the RAM, resulting in hundreds of Mo of data (maybe many Go). This makes the save and load process rather slow. And by the way, who cares about the exact position of a bird in the sky that you may not even have seen?
  • What happens if the player saves during a battle? How to manage all the timers, the physics engine running in background and all the objects in an unstable state? What happens if the player saves when (s)he's dead? (Yes, there are some games where it's possible...)
  • If the player doesn't choose when to save, does he still control the saving process? That is to say, are there some visible "checkpoints" at which the player can save its game? 
  • The other way around is that the computer manages everything and performs automatic saves completely hidden from the player. But in this case, it means that if a crash occurs, the player may totally lose his game. Moreover, if many players try the game during the same period, the game should be able to manage different "profiles" in order to accept different players.
  • If the computer manages the saves, I don't want them to happen everywhere. I have to chose some "safe places" (ie without too much interaction around) and at strategic points (beginning/end of a quest, before difficult parts...)
  • There are some games where, when you die, you don't go back to your latest save, but to some automatic checkpoint that you didn't even notice. This avoids a lot of frustration to the player if it's been a loooong time that he couldn't save. But of course, if you quit the game and you come back later, this automatic checkpoint does not work anymore. You start from your last save. Is it an interesting mechanics for my game?

Hence, those questions sum up in "when, what and how do I save?"
  • when: everywhen vs checkpoints
  • what: everything vs only a few states (player position, inventory...)
  • how: player vs automatic

And there are some more-or-less inevitable links, for example: everywhen => everything, automatic => checkpoints, everything => slower and space eater, automatic => difficult crash recovery, ...

II - My chosen solution


So I considered using some kind of "old-school" save system: There will be checkpoints, and the player will manage saves him/herself. At the moment, I allow 5 save slots for testing purposes but this number will likely raise. Here are the main advantages:
  • This enables many players on the same computer, and/or many different saves (I usually liked old games when you could keep a save just before a cool boss). 
  • The saves will be dumped on the hard drive in different files (slot1, slot2, slot3... etc). Hence, one can copy-paste saves to keep them after removing the game, 
  • It's also possible to share saves with friends!
  • It enables to have various saves in case one crashes
  • Furthermore, this system may be compatible with some "automatic checkpoints" too. Maybe I'll add some at any point where I don't want a "game over" to be too harsh.

III - Implementation


While implemeting this system, I had lots of problems, especially with regard to the software design (I'm not that good in software design). I won't detail everything here, but amongst other (this is a bit technical):
  • The "save" data is implemented with static attributes (some kind of "singleton class"), which enables me to easily reach/modify it from every object in Unity. As soon as the character makes actions/complete a quest, everything is registered in the save object.
  • At save points, I dump the save object on the hard drive using XML serialization, but, static attributes are not serialized, I had to code this myself.
  • Hence, that means there is only one "save" object in memory everytime, which is problematic when you want to list all the saves that are accessible from the hard drive... Because when you want to load a save, you want to know what's inside. This means the game has to read them all, and display a few relevant information (place, time played, inventory stuff...).
  • The dumped files may be edited with an hexadecimal editor... I tested it, and it seemed I corrupted the file, so I had to add some kind of validity check before effectively loading a save.
  • And of course, I also had all the classical problems of GUI: menu navigation, font and button resizing, toggle character control when you're in the menu, differentiating main menu and in game menu...


Well , that's all for today! See you next time guys!

Peace!

July 7, 2013

First level - Eagle Islands

Hello,

This week, I worked on putting together the first level of the game. Beware, spoilers below :)
As usual, I'll try to explain what my goal and constraints are... So I hope you don't mind if I get chatty :)

OK! First, I must think about a simple goal for this first level that may fit within the universe/world, the global story (because yes, there is a global story), and my guidelines (humour, freedom, oneiric).


A glimpse at the first level.

I - Technical constraints


This is the very beginning of the game, and the player doesn't have a lot of skills at the moment. This level will more or less be a tutorial, but without instructions, just to see if he got all the basic moves, and if he's able to combine them in new ways. At this point, the moves are mainly platformer-like (no fight yet, but this will come ;) ).


II - The world


I want the game to take place in a world where there are many different islands (in the sea... or floating in the air). Why different islands? Because...
  • This is fun to have many islands to explore, there is a feeling of freedom while moving from one to the other, and islands often sound like "paradise" (even if that's not always the case). 
  • Technically, this is much easier to manage: while navigating through the islands, the levels can be dynamically loaded and unloaded without the player noticing it too much (well, theorically... We'll see if I achieve this in practice).
  • In terms of design, this is a natural partition of levels: adding a new level/environment can be done by adding a new island without having to think about all the connections to the other environments.


III - The story


The goal in this first level will be to use the thief skills of our hero to get an egg on the Eagle Islands. The Zoological Institute has watched this place over the past weeks and has noticed that one egg is not brooded anymore, maybe the mother eagle disappeared. The goal is to get this abandonned egg  and bring it back so that the Institute can take care of it. However the place is not easy to approach because of all the brooding eagles.

So in this setup, we've got platformer components with floating islands, stone walls, jumps to make, rocks to climb and the first lively ennemy: eagles. Eagles can add a good value to the oneiric feel :). They are just peaceful beasts, but don't get too close to their eggs!


IV - Prototyping the platforms


This is actually not that complicated. A few cubes here and there, and let's see if it forces the player to practice all the basic moves he's been taught, and a few more that he will have to imagine. The most important thing to test is that there is no hack to avoid those particular move combinations.

A simple level (logical) prototype in Blender: pretty much only cubes...

OK prototyping is always quick and fun... But creating the real graphics is a lot more time-consuming... Once basic forms / hierarchy of the level are OK, I have to create every island, and vegetation spot on it.

Sloooooowly creating the real graphics in Blender... I don't detail every stage here, maybe on a later post.

Final level (at least for the moment...) in my game editor (Unity)...


V - Steven the Eagle (yes, this pun seems to work with all bird names)


Creating the first lively enemy has been a great challenge... I started with the model of the seagull that I corrected to make it look like an eagle. Of course, I kept the few flying animations to add flying eagles around the level. But the BIG difference with the seagull is that I want it to be on the ground too. And I was a bit unaware of the difficulty to make an animation of a bird folding/unfolding its wings. It's such a mess! See for yourself:

The eagle with folded wings (after one full morning of work... Just to finely position the bones) ... You can see the skeleton in blue. This was a real challenge to smoothly deform the 3D model without creating too much artifacts on the high-torsion zones... I had to catch up a few zoological anatomy classes in order to create a believable wing deformation ;) Believe it or not, a bird wing and a human arm are not that different.

And then I had to add some "logic" to its behaviour. I want it to be an obstacle to the player, but the player has to be able to find a way around it without using any fight skills (he doesn't have any at the moment). I won't detail here the tricks I used to design this eagle enemy (how to make the player understand there is a danger? How to make him understand how to counter it? Do I help him a lot? Not at all? What is the sanction?), but you'll see the final result in the next demo (surely at the end of the month).

 Don't upset him! Or you'll regret it... Can you believe it? He can spread his wings! Yay!


Wow! I've written a lot, and I didn't speak of everything yet (adding some pickable items,  tracking bugs, adding a few sounds, adding variety to the look of the eagles, including an albinos one... for a secondary quest). Well I guess that will be for another post :)

Peace :)

June 30, 2013

New Demo

Hello (again),

here is the latest demo of World of Thieves. Pretty much the same as the previous one, except for enhanced graphics. A little bit more immersive I hope... If you are patient enough, you may see a day/night cycle...


I hope you'll enjoy it. Don't hesitate to contact me if you want to give me a feedback! As always, keep in mind this is work in progress :)

Skybox, and Art improvement

Hello everybody,

This last week, I spent some time on the artistic part of the video game creation.


I - Skybox


First of all, I tried to make the sky more lively, with a day/night cycle. I created a simple 3D sphere in blender on which I painted a day sky and a night sky. Then I created a "cube map" texture from this 3D sphere: the idea is to set up a camera inside the sphere and to make it look in 6 different directions (up, down, left, right, front, back). This enables me to create 6 different textures. Then, in the game, I map these textures on a "huge" cube that I set around the scene. This looks like a real sky at an infinite distance.
But why using a cube and not using directly the painted sphere created in Blender? Because displaying a sphere in the game is more expensive in terms of computation. Moreover, Unity (the framework I use to create my game) proposes nice tools to manage a cube map sky, but none for a sphere map sky. That's it!

The night sky map in Blender. You can see I keep some notes for later (the bottom panel) about how I work in case I have to modify/correct it in the future! I spent a lot of time trying to understand the process and fix all the little graphical glitches.... ;)

Then I implemented a little "time of the day" algorithm which blends the 2 sky maps (day and night) depending on the virtual time. I also added a sun and a moon object rotating around the scene, based on the virtual time too. Of course, the light cast on the scene depends of the moon/sun position.


6 textures computed from the "sphere sky". They will be mapped on a huge cube inside the game.

The final night skybox in the game with other elements (moon, landscape, water and wind)


II - 3D Art


Then, I tried to work on various 3D elements: grass, bushes, and of course, the main character. The way to go is exactly the same as for all the other stuff I've already worked on (seagull and fish, pirate character, etc...), So I won't detail it much, but the basic stages are:
  • Create the 3D geometry of the model. I do this in Blender, and I usually make a lot of sketches beforehand to have a good idea of what I want.
  • Apply a texture to it. I do this in GIMP to paint the image, and in Blender to map it to the 3D model
  • Create the animations. This is done in Blender too. The idea is to create a "skeleton" for the character where each bone deforms a part of the body. Animating a character simply means defining every bone position/rotation along a timeline. This can be quite long. At the moment the main character has 70 bones (more than half only for hands!) and 5 different animations.

My process workflow in Blender: on the upper-left corner, the texture of the main character. It may look strange at first sight, but by looking carefully at the model, you may identify how it is mapped. On the lower-left corner, the 3D textured model with the full skeleton visible. On the right part of the picture are displayed the "key" positions/orientations of the bones for a simple animation... It's a bit of a mess :)

Of course, this is the ideal process. But, sadly, in reality, this is never that straightforward. Very often, I have to correct the texture mapping or the model because it doesn't deform well while animating. This is a long process of trials and errors.

For non animated models, the task is a little bit easier however.


III - 2D Art


I finally worked a bit on enhancing old "prototype" low-res textures, and creating new ones (with HD resolution). For example:

On the left-side, a part of the old "crate" texture, on the right-side, the same one with a higher resolution. Quite some work to update it!


And finally, all those "little" improvements make the game look a lot more appealing (I think):

The actual game look. Not exactly what I had in mind, but yet quite presentable.


That's all for this week... But a demo with these improved graphics is coming for tonight! Sadly, no more gameplay/levels (even if I corrected a few bugs). As usual, don't hesitate to share, tweet, repost if you like and/or want to help!

Peace :)


June 23, 2013

Steven (the) Seagull


Hello everybody,

Recently, I wanted to work on something... absolutely not necessary for the game, but that may contribute highly to the atmosphere. In the few games I've played, I've particularly enjoyed moments where the player can navigate freely and discovers many "living" creatures. In my game, I'd like to recreate this kind of feeling by creating an open world set on an ocean with a few islands (not very big, but enough to wander around).

So I chose to work on what will be visible a LOT during the game, and hopefully will contribute to a peacefull atmosphere: the sky, the sea, and a few birds and fishes. Here it is:

Video of water, sky and life :)

I - The Ocean


For the ocean, I imposed to myself a technical constraint: I don't want the water to be transparent, and the camera will never go underwater. Why?
  • Because, technically, transparent shaders need more GPU/CPU power to render and are not suited to old hardware
  • Because it would require me to model everything that is underwater, which might be huge for an open water world.
  • Because if the player can actually SEE what is underwater, he may WANT to go there. I already plan to authorize the player to fly at some point, I think it would be enough to sell him some "freedom" feeling.
  • Because I'm a fan of the ocean in "Beyond Good and Evil" and "Zelda Windwaker", and it is not transparent in those games (but in very different styles), which proves that you don't have to be realistic to create something powerful.

Note that it doesn't mean I don't want the ocean to be REFLECTIVE. Thus, I spent some time tuning and tweaking some Unity ocean shader to get something reflective, with some cartoonish pure white waves:

Water, sky and wind

II - The Sky


About the sky, I wanted the player to feel some endless space. And I though adding some wind would increase this feeling. Hence, I added some wind moving curls, and some wind noise. I set a few clouds moving around above the horizon line. All this is done dynamically and randomly. Maybe, later, I'll add some weather managing process to increase immersion.

At the moment, the sky is only a pure color (some kind of cyan), but this will change too.


III - Life


And the more time-consuming part was... creating "living" birds and fishes. The process is quite the same for both. First I create a 3D model in Blender (maybe a more detailed post on this later), like this:

Steven, the seagull in Blender. The magic behind every video game entity is just a more-or-less complex bunch of 3D triangles with some image(texture) patched on it. For careful lookers, yes, the texture is far from optimized.


Of course, I use LOTS of references. Then I create 3 basic animations for my seagull (let's call him Steven ;): a simple wing move, a glide move, a "scream" move. Every animation is "loopable", that is to say it can be played in loop with a perfect match between the first and the last frame.

Then, in Unity, I add some "intelligence" (or stupidity, depending on how you see it) to Steven: it randomly goes from one animation/activity to the other, in loop. Of course, when it screams, I also add the correct sound. And then, I program some basic algorithm to make it go towards a random goal (some kind of proportionnal correction for those of you automatician guys out there). I won't go in much deeper details because it's always a bit more complicated than that, but the basic idea is here.


It's about the same thing for the fish, except I had to work on some "jump" algorithm. All of this is purely random, and every fish and bird moves around a goal (that can be dynamically changed, which will theorically enable me to make them follow a boat for example).

And this whole world goes like the above video!

That's all for today!
If you find this interesting/useful, or you want to help me promote it, feel free to share, tweet, re-blog, talk to your friend, whatever...

Peace!


June 16, 2013

Graphical Interface

Hi everybody,

Today, here is a little post about the Graphical User Interface (GUI) of the game. More specifically about what is called the HUD (Head Up Display), which is the interface displayed WHILE PLAYING (this is NOT the menu). You will see I ask myself looooots of questions even for a "simple task" like this one. But... I have to, because this HUD will always be visible on screen during the whole game. It has to be the best possible (help the player without disturbing him/her from the actual game).

Of course, when I try to create a video game, my first reflex is usually to look at how other people do it and try to understand/analyze it. So I checked out the HUD of a few of my reference games: Beyond Good and Evil, Zelda (2 different episodes), Assassin's Creed, Okami, Torchlight and Darksiders.
The HUD of Beyond Good and Evil (my all time favourite game). (c) Ubisoft.

I - Problems 


First of all, while designing an interface, the first thing to think about is "What do I show to the player"? This is highly dependant on many things:

- Game "rules": does the hero have a life/energy information? Does he have other equipment that may need this kind of representation (shield energy)? Can he use many different equipments (bow, knifes, gravity gun, love gun, whatever...)? If so, can he use many at the same time and how can I show efficiently which ones are selected?

- Design choice: Do I want a very simple representation (but easily readable) or do I want something more elaborated (hence less readable), but that may fit better with ingame graphics and improve immersion? How can I represent this information (Numbers? Letters? Colored bars/drawings? Icons?)

- Help level: Do I want a very complete HUD that explains everything to anybody who plays for the first time, or something aimed at people who are already familiar with gaming? The first one is more complete but eats more space on the screen... This may highly impact the difficulty level of understanding the game, but also the difficulty of the game itself (imagine I don't show the hero energy bar... This may be very stressful for the player).

- The control choice: Do I want my game to be playable with only one action button? or two? or three...? More action buttons = more complex actions (jumping while aiming at some guy with a bow for example, which is cool :) ) = more complex HUD to explain it (show the target cursor + explain how to shoot an arrow + how many arrows are left?).

II - (A) Solution


Of course there is no "perfect answer" to this problem (as it is usually the case for a lot of problems). Only compromises... depending on the kind of audience, the kind of game... and above all my time and abilities/skills.

A prototype I created with Inkscape. First I take a screenshot of my game, and I design the interface over it (change things, move around, resize, change color). Once I'm happy with it... I actually start coding to put it in the game.

Thus, I chose something simple and quite "modern-looking":
- On the upper-left corner, I show characteristics related to the hero him/herself: life and force. The player may understand which one is which by playing and seeing them evolve. It enables less cluttering information. It's not very difficult to understand, and once you get it, the representation is minimal and doesn't bother you during the 99% rest of the game. And why the upper-left corner? Because this is most important information and it the first thing you see when you try to "read" the HUD... in the normal reading way (left to right, top to bottom).
- On the upper-right corner, I show equipment information (one for each mouse button). Why right-side? Because usually mouse is on the right-side of the keyboard, hence it is easier to identify that this info is linked to the mouse (sorry for all left-handed people... :( ). Maybe I'll use a third one with the middle mouse button... I'll see if this is necessary later. You may notice that the "main" equipment (left button) is bigger, because used more often.
- On the lower-left corner, I display... money.
- I chose to lower the dialog box size, because it took too much space on the previous version (you can check the tutorial demo to see it). Moreover, it is easier to read lines when there are not too many words on the same line (check your favourite book, you'll see ;), and that's why newspapers present texts in many columns.

 The actual interface in the game. Not very finished, but this is a nice start. A lot of work was necessary to make it resize well when changing the resolution.

You may see I used some 50% transparent black rectangle backgrounds with white text/icons. This ensures at least a 50% contrast readability whatever is displayed behind, because HUD must be readable in every virtual place of the game. At the same time, it enables you to see through it which improves immersion.
I also use some simple orange "circles" to add some kind of "techy-modern" look to the interface. Orange is a color I may have chosen because I like the interface of Blender (a 3D software I use), and it has some kind of visual uniqueness (not very used, except in the very stylish Remember Me). Maybe I'll change the theme in the future... For representation of information, I chose to use a lot icons because it is very easy to understand, and it doesn't need any translation. For example, I used a credit card icon to represent the money information... which (to my surprise) may be seen as the € symbol with the orange circle around it. Fun :)

That's all for this... huge post. Thanks for reading until here and I hope it was intructive for some of you :)

See you!